Onboard and offboard users
A practical administrator checklist for provisioning access and removing it safely.
Use this checklist alongside your organization's personnel and identity-management procedures. Maestro account changes, workspace ownership, and identity-provider access are separate concerns.
Before onboarding
- Obtain the required business approval and the correct work email.
- Identify a sponsor and the groups or rooms the person needs.
- Choose the lowest necessary platform role; ordinary access is usually the starting point.
- Assign a responsible owner to confirm that access works.
Provision and verify
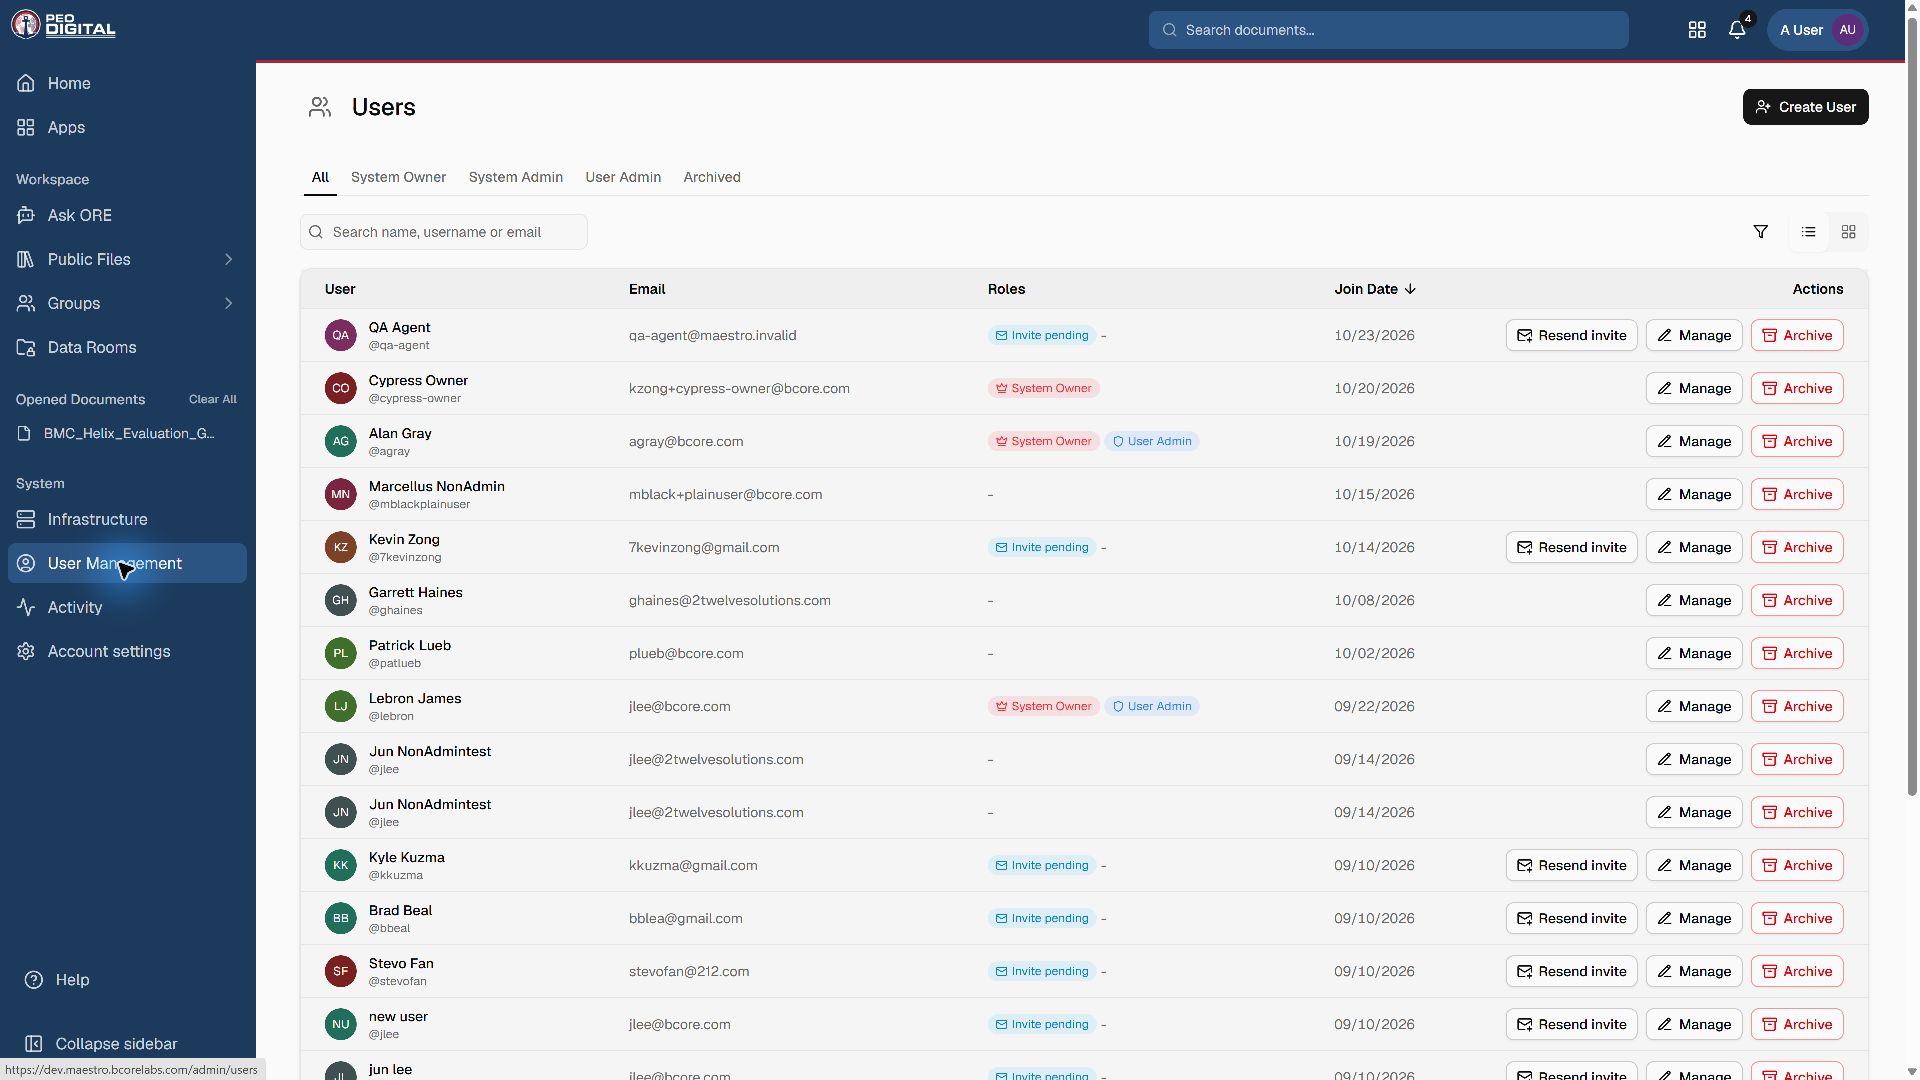
- An authorized administrator opens User Management, then Create User.
- Enter the required identity details and review the email carefully.
- Create the account. Maestro emails a link for the user to set a password; administrators do not distribute a shared initial password.
- If delivery fails or an invitation remains pending, use Resend invite rather than creating another account.
- Have the relevant owners add the user to the approved groups and rooms.
- Ask the user to complete Access and sign-in, open the expected workspace, and verify a permitted sample document.
Do not send test invitations to real people while validating this checklist. Use approved test accounts and your local mail-capture setup.
Before offboarding
Confirm the effective removal time, any retention requirements, and the person's ownership of groups, rooms, and active work. Reassign ownership and identify a continuing contact before removing access.
Preserve documents and audit history according to policy. User removal is archive-only in Maestro; permanent user deletion is not the supported workflow.
Remove access safely
- Have a System Admin or System Owner archive the account through User Management.
- Coordinate identity-provider disablement and active-session revocation with the authorized identity administrator. Do not assume a local archive alone proves every existing session has ended.
- Review group membership, room ownership, and any external room invitations separately. Revoke access that is no longer required.
- Confirm ownership transfer and record completion in your organization's approved tracking system.
- Verify removal with an authorized test method. Do not request the departing person's password.
An external-only room recipient should be offboarded through the room's invitation and access controls; do not confuse it with an internal account archive.
Acceptance checks
- The intended user can no longer enter through the applicable sign-in or invitation path.
- Ongoing groups and rooms have an appropriate owner.
- Retained files and audit records remain available to authorized custodians.
- The sponsor and support team know who owns any unresolved item.
For urgent access removal or a suspected security incident, follow your organization's incident process and contact ORE Support.